Creative Iterations
Exploring design through multiple revisions, feedback, and continuous improvement across various media formats.
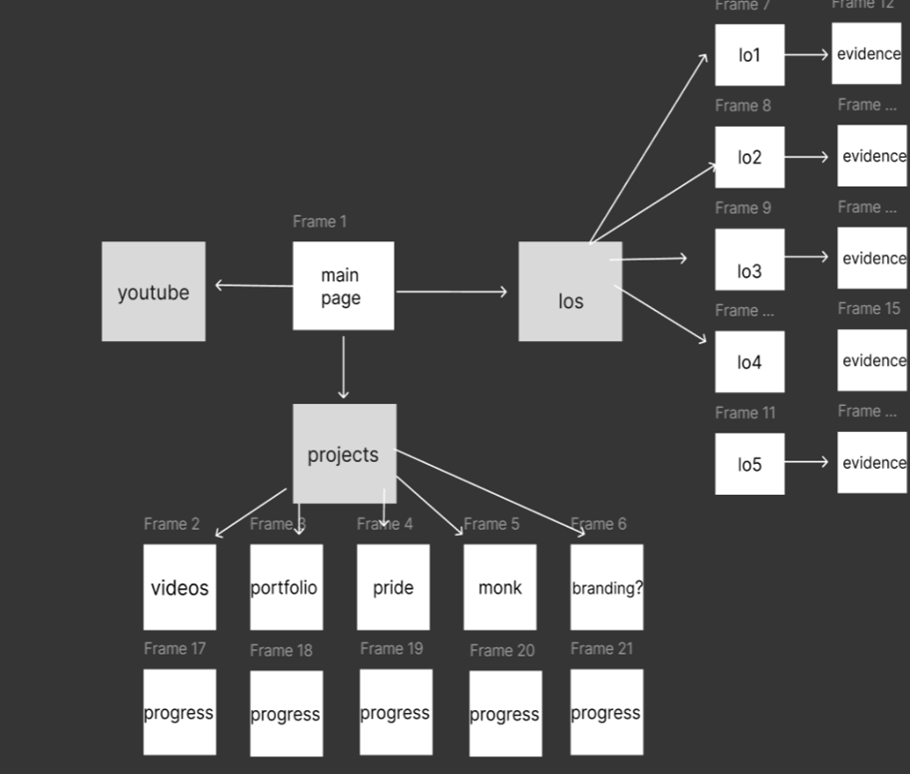
Website Design Iterations
Introduction
After we all created low-fidelity designs for the website, we planned to combine elements and make a new one. However, we fell in love with the design that one of our teammates, Hedieh, made, so we decided to continue with it.
Process
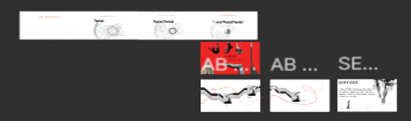
- I made iterations on Hedieh's design based on feedback from groupmates and teachers to ensure we were all on the same page and moving in the same direction.
- Initial prototype was created.
- I added more color and updated the collage, since it was my specialty.
- For the slogan page, I made it red and experimented with two shades of blue from the brand book, which were later removed.
- Added subtle red details to keep the theme consistent, such as: Center of the spiral, Fingernails, Wobbly line around pictures on the About Us page.
- After another meeting, everyone liked the prototype with red hints. We decided to remove some pages, but realized we didn't have a services page.
- I created the services page using collage elements without making it too crowded and incorporated my hobby, slacklining.
- Tested different color versions, and the team chose the white version with red hints.
Validation
Feedback from groupmates and teachers guided design changes and ensured alignment with the team's vision. Team decisions confirmed the choice of colors and page elements.
Reflection
Iterating on someone else's design taught me how to incorporate my ideas while respecting the overall team vision. I learned the importance of collaboration, feedback, and making design choices that balance creativity with consistency.
For more details, check out Twist Twist Twist.
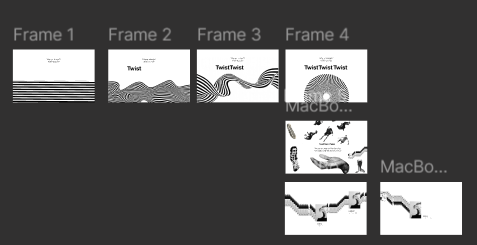
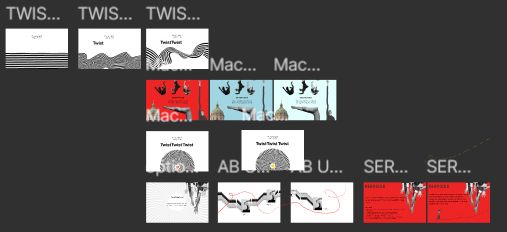
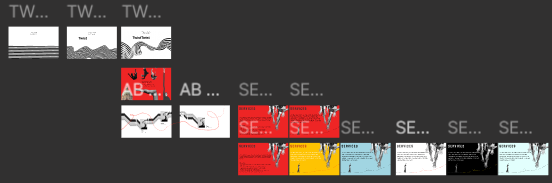
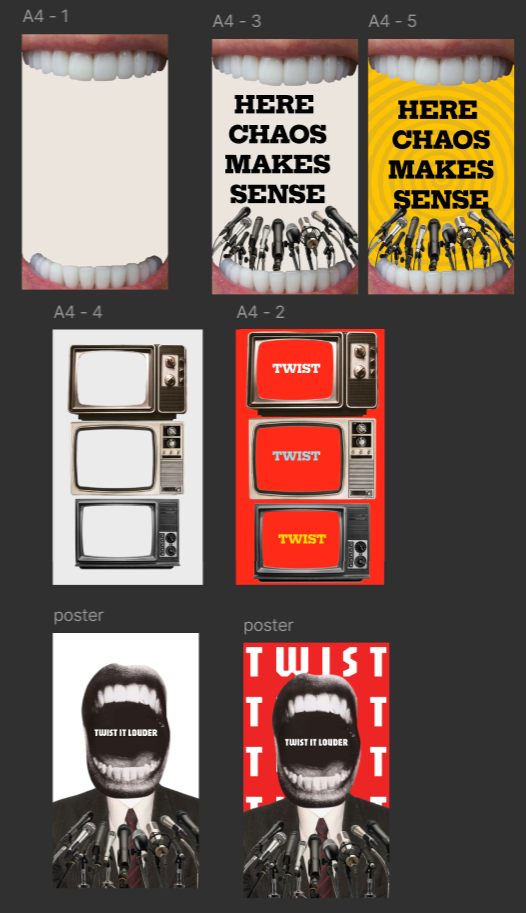
Poster Design Iterations
Introduction
Because I had some ideas, I wanted to make posters or at least jot down some of the concepts I had.
Process
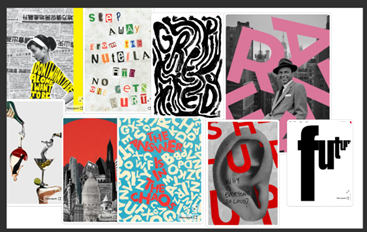
- Started by looking at Pinterest and other websites for poster inspiration.
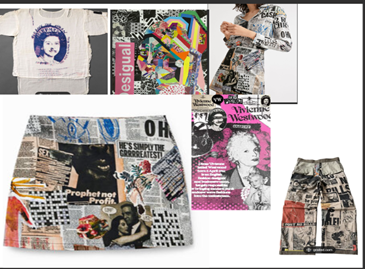
- Main inspirations were the early work of Vivienne Westwood and the brand Desigual.
- Added my favorite "stickers" on a Figma board and let my creativity flow.
- Put together pieces I liked and created designs that I thought fit our style.
- Began with simple black-and-white versions.
- Based on feedback from my groupmates, added details and colors as I liked and thought worked best.
Validation
Feedback from groupmates helped refine the designs and decide which details and colors worked best.
Reflection
Creating posters allowed me to experiment more freely with collage techniques. I was able to explore my ideas and adapt them based on feedback, helping me improve my design concepts.
For more details, check out Twist Twist Twist.
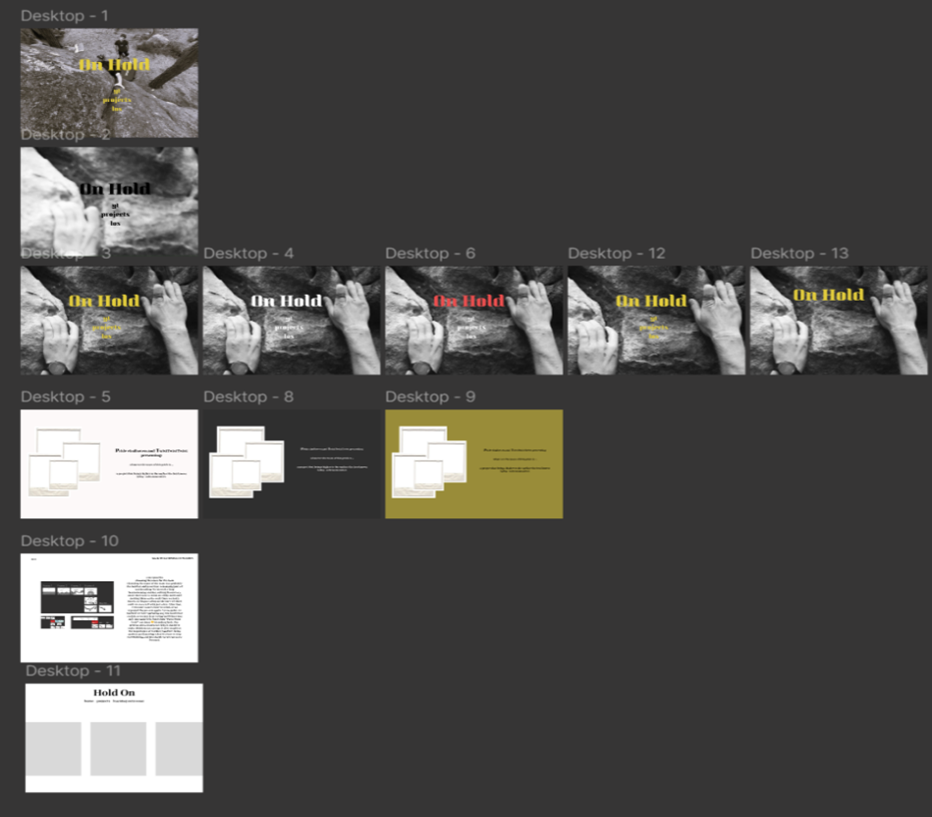
Portfolio Iterations
Portfolio prototype
- Method: Started with a simple plan, then developed it step-by-step through many changes (iterations).
- Value of Iteration: Each change helped me understand how the design and code would work together, making the final result clearer.
- Current Status: The prototype is not finished yet; I still need to work on the logo and the project page.
Introduction
For my portfolio, I started with a basic structure and then slowly improved it through multiple stages. Each change helped me get closer to my final design vision.
Process
I began with a simple framework to organize the main sections of the website. I created a low-fidelity prototype to visualize the pages and check the basic layout. I designed and coded each page one by one, continuously making small changes to the look and feel. Going through many iterations at each step taught me what worked best and deepened my understanding of the whole website.
Reflection
The prototype is still incomplete, as I need to find a good logo design and change the project pages. However, I am happy with the process because every change brings me closer to the best possible outcome. Working step-by-step showed me that improving ideas over time is essential to create a website that perfectly matches my vision.
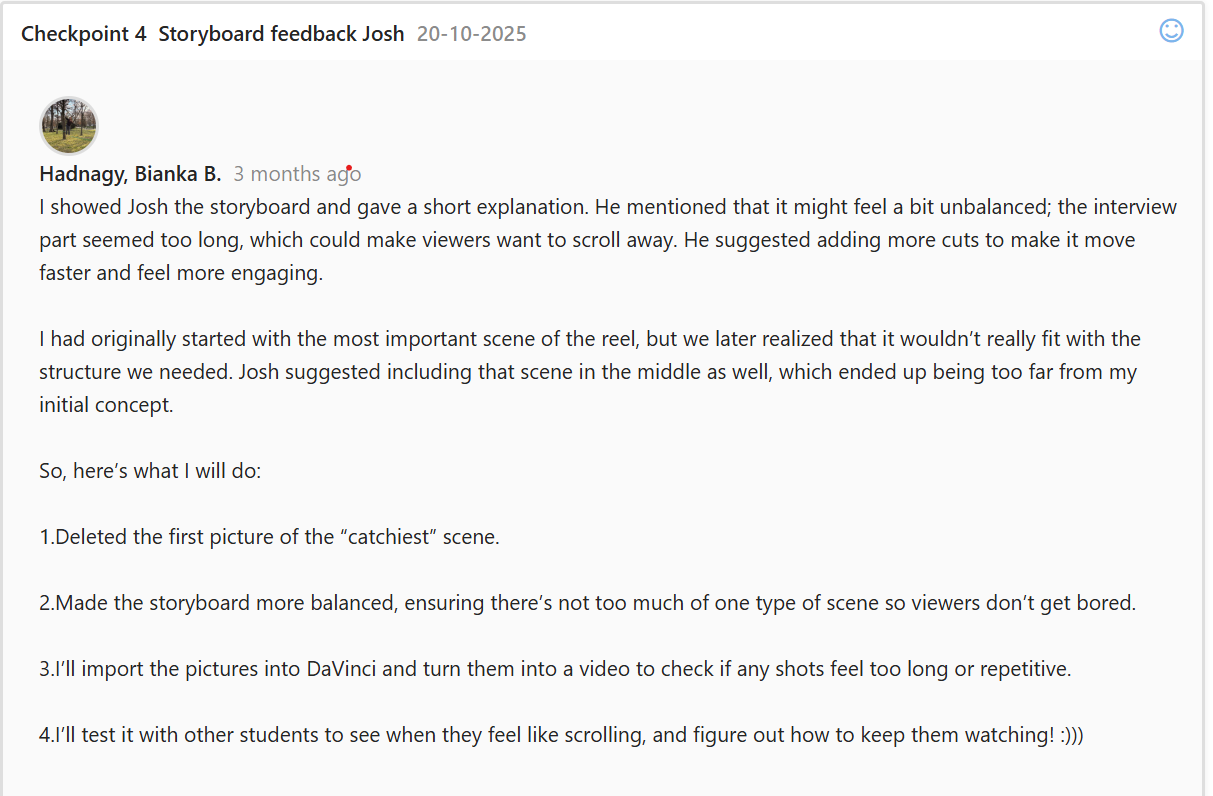
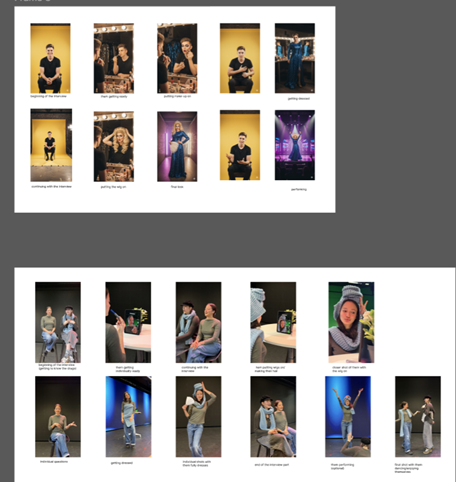
Storyboard Iterations
- Method: Started with AI images, made several changes, and then used real photos of ourselves following a teacher's suggestion.
- Value: Real photos added a more genuine, emotional feel and helped me practice camera angles.
- Lesson: Combining AI ideas with real-life practice makes creative concepts much stronger.
Introduction
I developed a storyboard for Eindhoven Pride using multiple changes (iterations) to test different ideas and find the best way to visualize the final video.
Process
I started by using a few AI-generated images to quickly plan the scenes and basic look. I made several changes, adjusting the images and layout. Our teacher, Dirk, suggested we replace some AI images with real photos of ourselves. Taking these photos added a more authentic and emotional feeling to the storyboard. It also gave me valuable practice with camera angles and framing. I added descriptions under each picture to explain clearly what each shot should capture.
Reflection
Making multiple changes improved both the visual quality and the emotional impact of the storyboard. Taking real photos taught me practical lessons about camera angles, framing, and capturing expressions. This process showed me that mixing new tools like AI with real-life experimentation makes creative ideas much stronger.
For more details, check out our project for Eindhoven Pride.

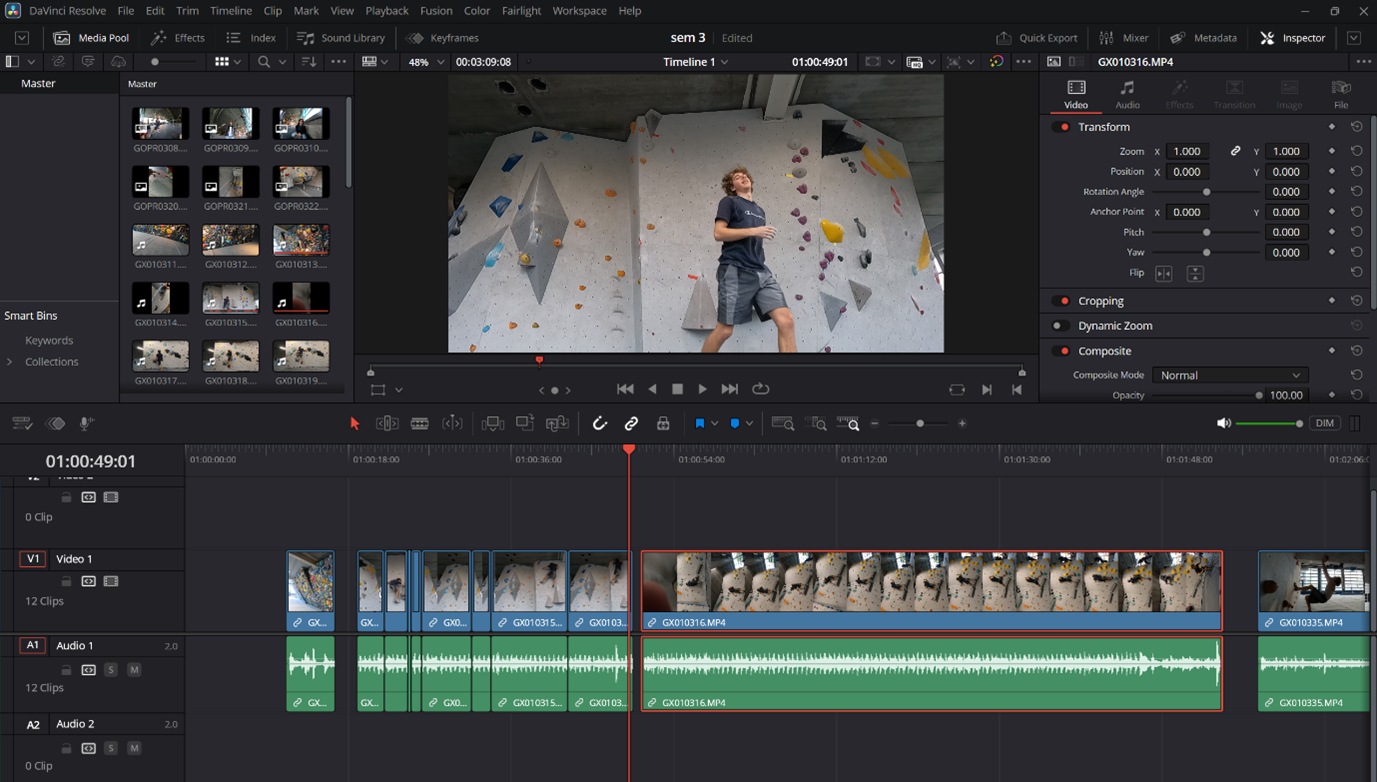
Video Iterations
- Goal: Refine a climbing video through many changes to get the exact emotional feeling I wanted it to have.
- Method: Tried different frames, music, editing styles, and cuts to find the best flow and energy.
- Lesson: Learned that constant experimentation and adjustments are necessary to get the best result for a video.
Introduction
For my portfolio, I worked on a climbing video that is almost finished. My goal was to improve it through many changes (iterations) to achieve the perfect feeling I wanted the video to communicate.
Process
I constantly experimented with different frames, music, editing, and cuts to see what combinations worked best. I created several versions, adjusting the sequence and transitions to ensure a smooth flow and trying out different elements to capture the right energy of the climbing scenes. I plan to use this same careful, iterative process for all the other videos I create for the website.
Reflection
The process of making many changes helped me improve the video step-by-step. I learned that constantly experimenting with different elements and making small adjustments is key to achieving the best possible creative result. This experience showed me how important it is to refine my work multiple times to achieve the intended emotional impact.
For more details, check out my video projects.
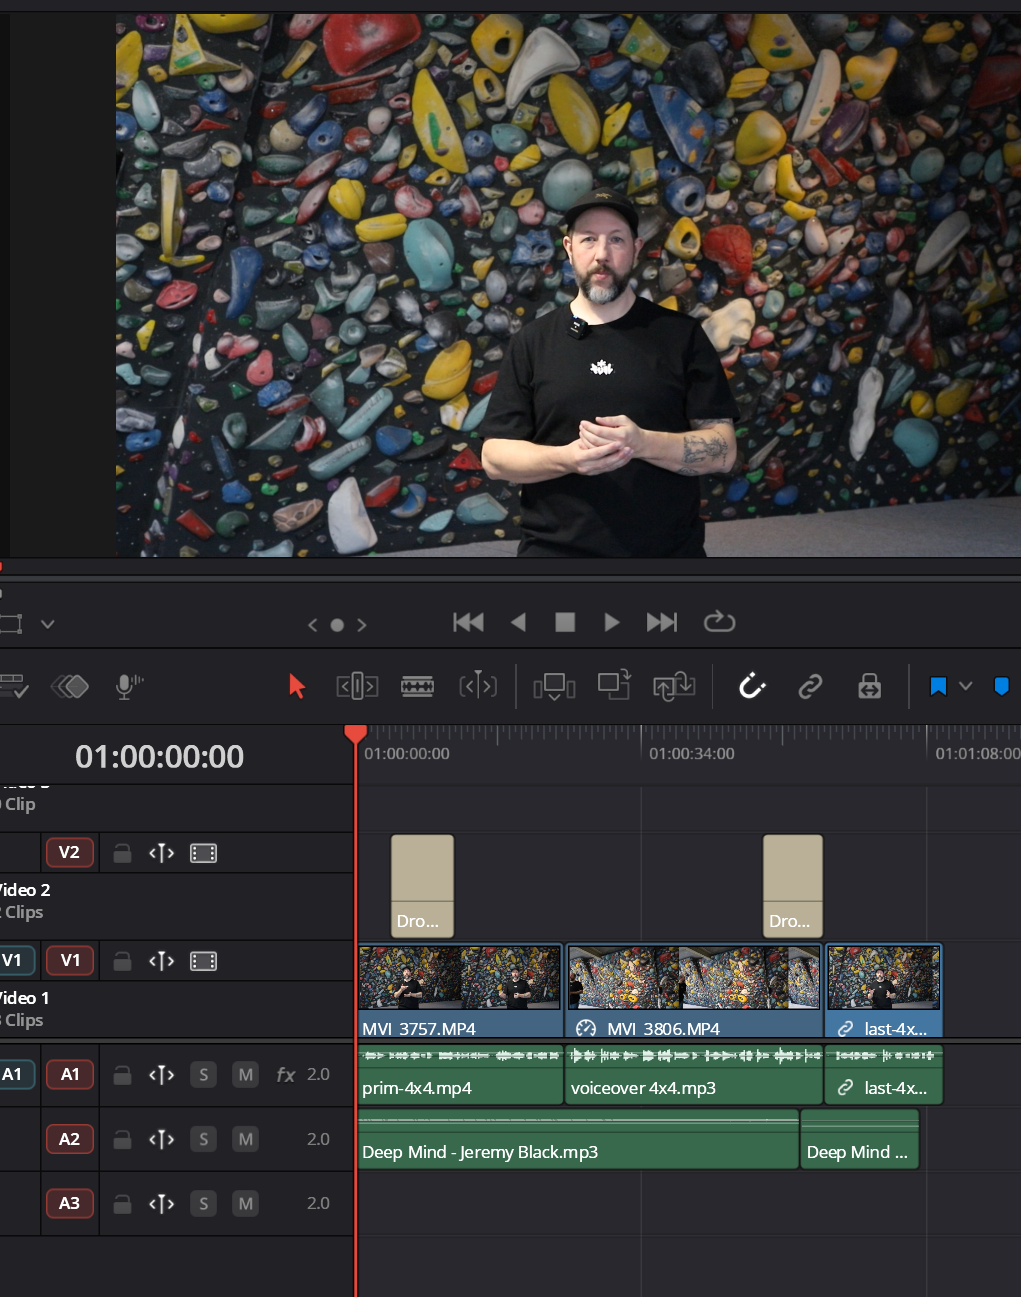
Video Editing Process
Introduction
After filming, I started editing. My main focus was on making many changes (iterations) to make the final video look good and send a clear message.
Process
My work was a series of planned steps. I kept changing the video's look. I tried different songs for the mood, used various color filters, and changed the text and transition effects. I did this many times until the message was clear and clean. When fixing the sound, I found a loud beeping sound. I fought hard and spent a lot of time trying to fix it myself. I realized I was stuck. I made the smart choice to change my plan and ask a teacher for help. This final step let me remove the block and finish the rest of the creative editing.
Reflection
This project shows my planned process of creative changes (LO3). I can show how I tested things like music and filters to reach the final look. It also taught me that fixing big problems is part of the creative work, and sometimes you have to change your plan (iterate) by asking an expert for help.
Quick Iterations
- Explored different angles and settings for filming and photography.
- Experimented with visual composition in a live environment.
- Refined techniques through trial, error, and quick adjustments.
Introduction
I attended a major climbing event in Amsterdam to assist Guido with filming and to practice sports photography during the finals.
Process
I experimented with different angles and camera positions to find the most visually engaging shots. I guided athletes during interviews and adapted settings quickly for the fast-paced finals. Moving through the crowd required constant problem-solving to get unique and dynamic perspectives.
Reflection
The event allowed me to experiment creatively and learn through immediate iteration. Adjusting angles, timing, and composition in real-time helped me understand how to create more compelling and professional visual media.
For more details, check out my video projects.
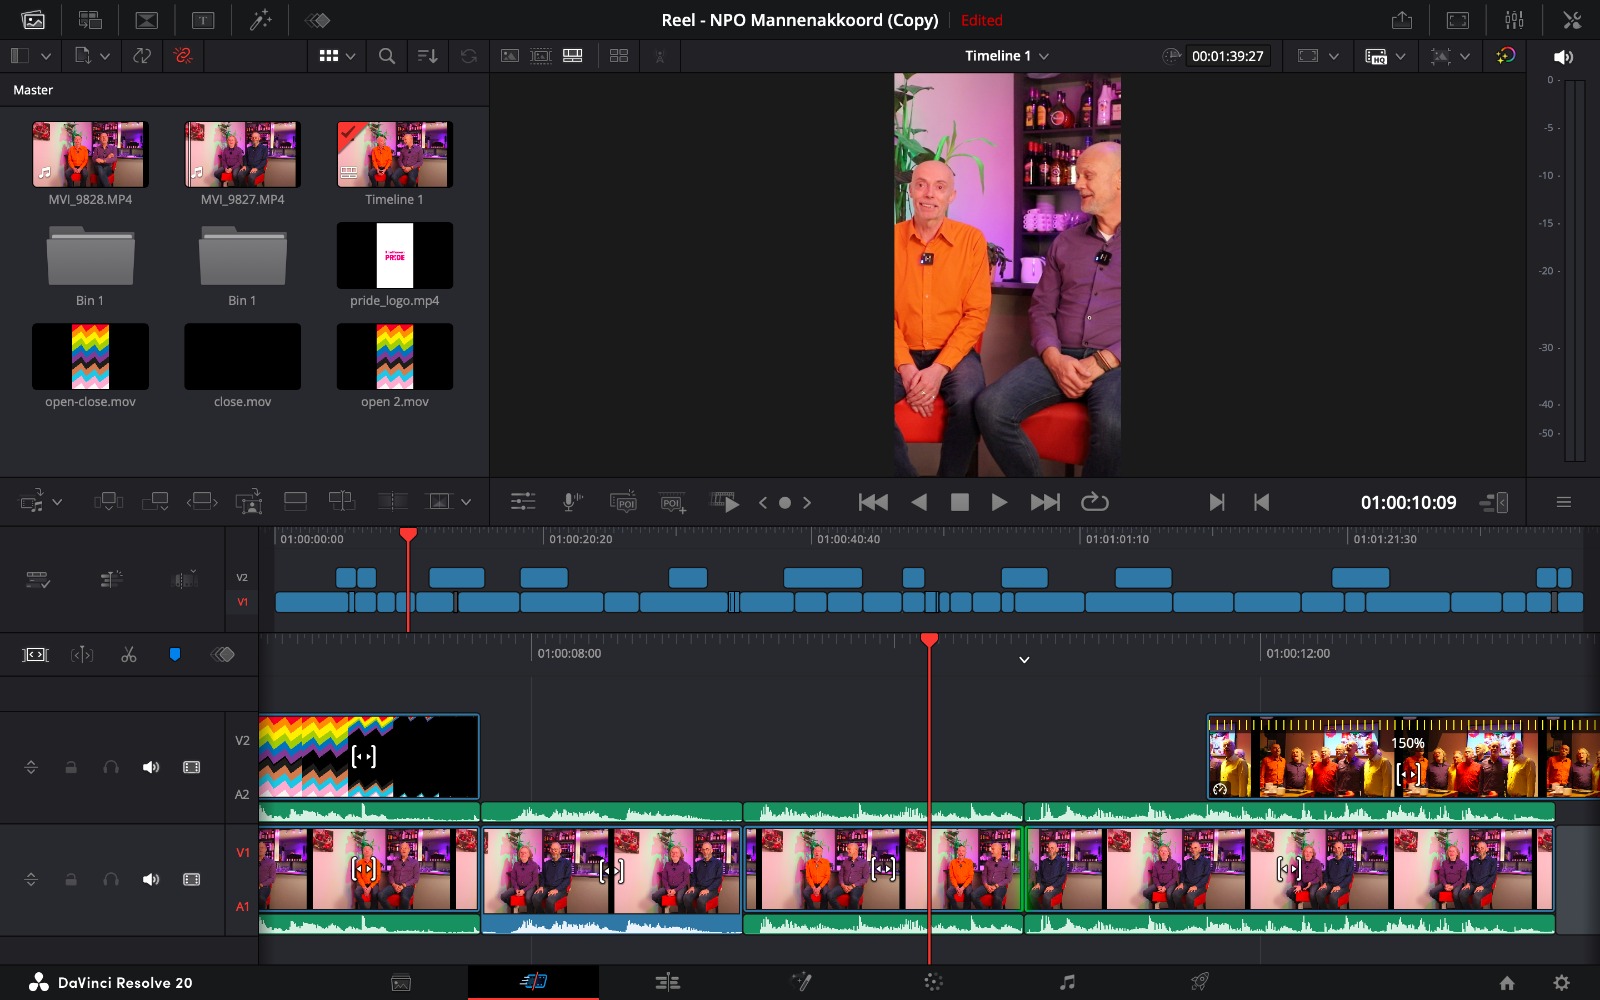
Creative Iterations – Pride Videos Editing
Summary
- Worked with interviews and B-roll from students and teammates.
- Combined multiple takes to improve flow and storytelling.
- Adjusted timing, pacing, and visuals through several iterations.
Introduction
During the Eindhoven Pride videos, I focused on using multiple takes from students and teammates to create smooth, engaging scenes. The B-roll needed to complement the interviews without distracting from the story.
Process
I reviewed all footage, picked the best takes, and experimented with different combinations to find the right flow. I adjusted pacing, trimmed clips, and synced B-roll with the interviews. Color grading and small visual effects helped make everything cohesive. Feedback from teammates guided each iteration until the videos felt polished and professional.
Reflection
This process taught me how small changes can make a big difference. Iterating with multiple takes improved timing, flow, and impact, while collaborating with teammates highlighted the value of feedback and experimentation.